Jack's 3D Printing Guide

If you want to find out about 3D printing; see some cool 3D printed things or learn more about home 3D printing then you have come to the right place!


The world of 3D printing is incredible and is only limited by your own imagination. There are endless things to print, practical or not, but 3D printing has a steep learning curve and it can't always be easy to begin with.


This website can be a guide to help beginners get started 3D printing and will provide lots of useful information so you can soon become a 3D printing expert!

What is 3d printing

diagram
diagram

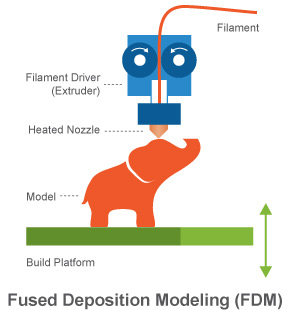
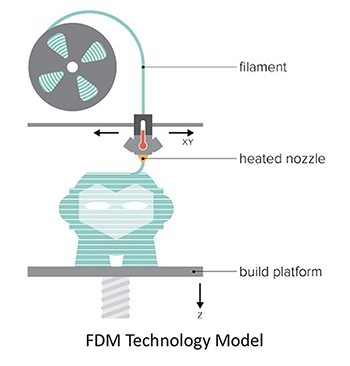
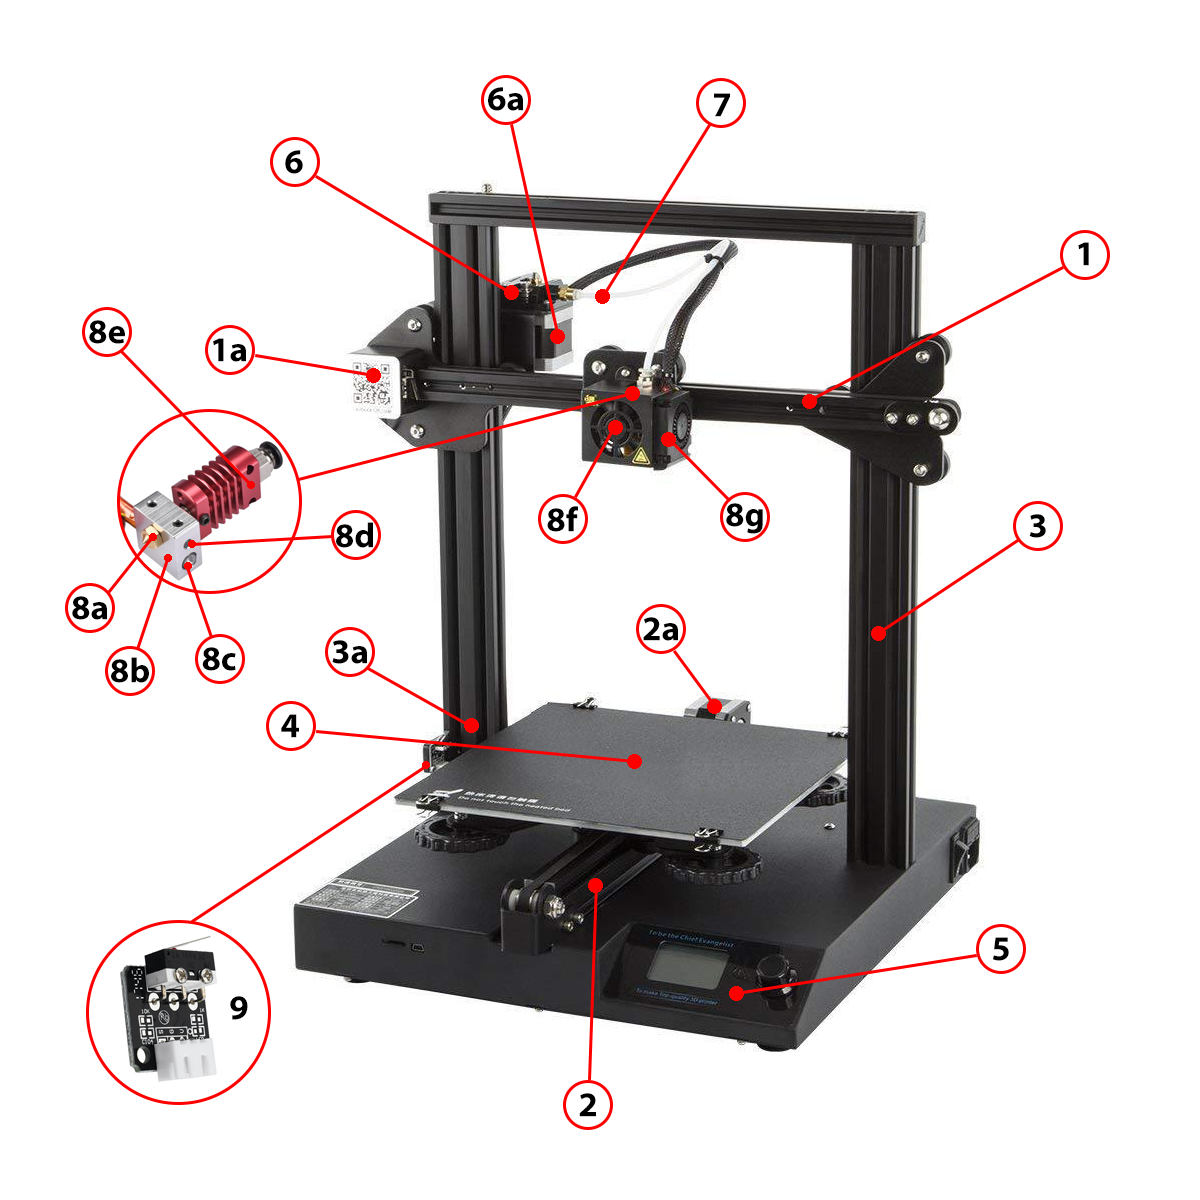
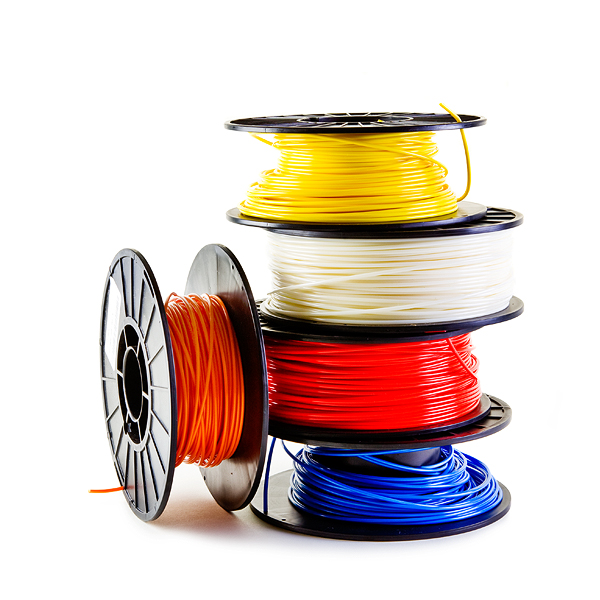
3d printing is similar to printing on paper, the nozzle of the printer moves back and forth making a shape. However what makes 3d printing different to regular printing is that it prints with plastic not ink and that there is an extra axis, the z axis, which moves the nozzle up. so instead of only printing one shape a 3d printer prints many shapes on top of each other, in layers, forming a 3d model.


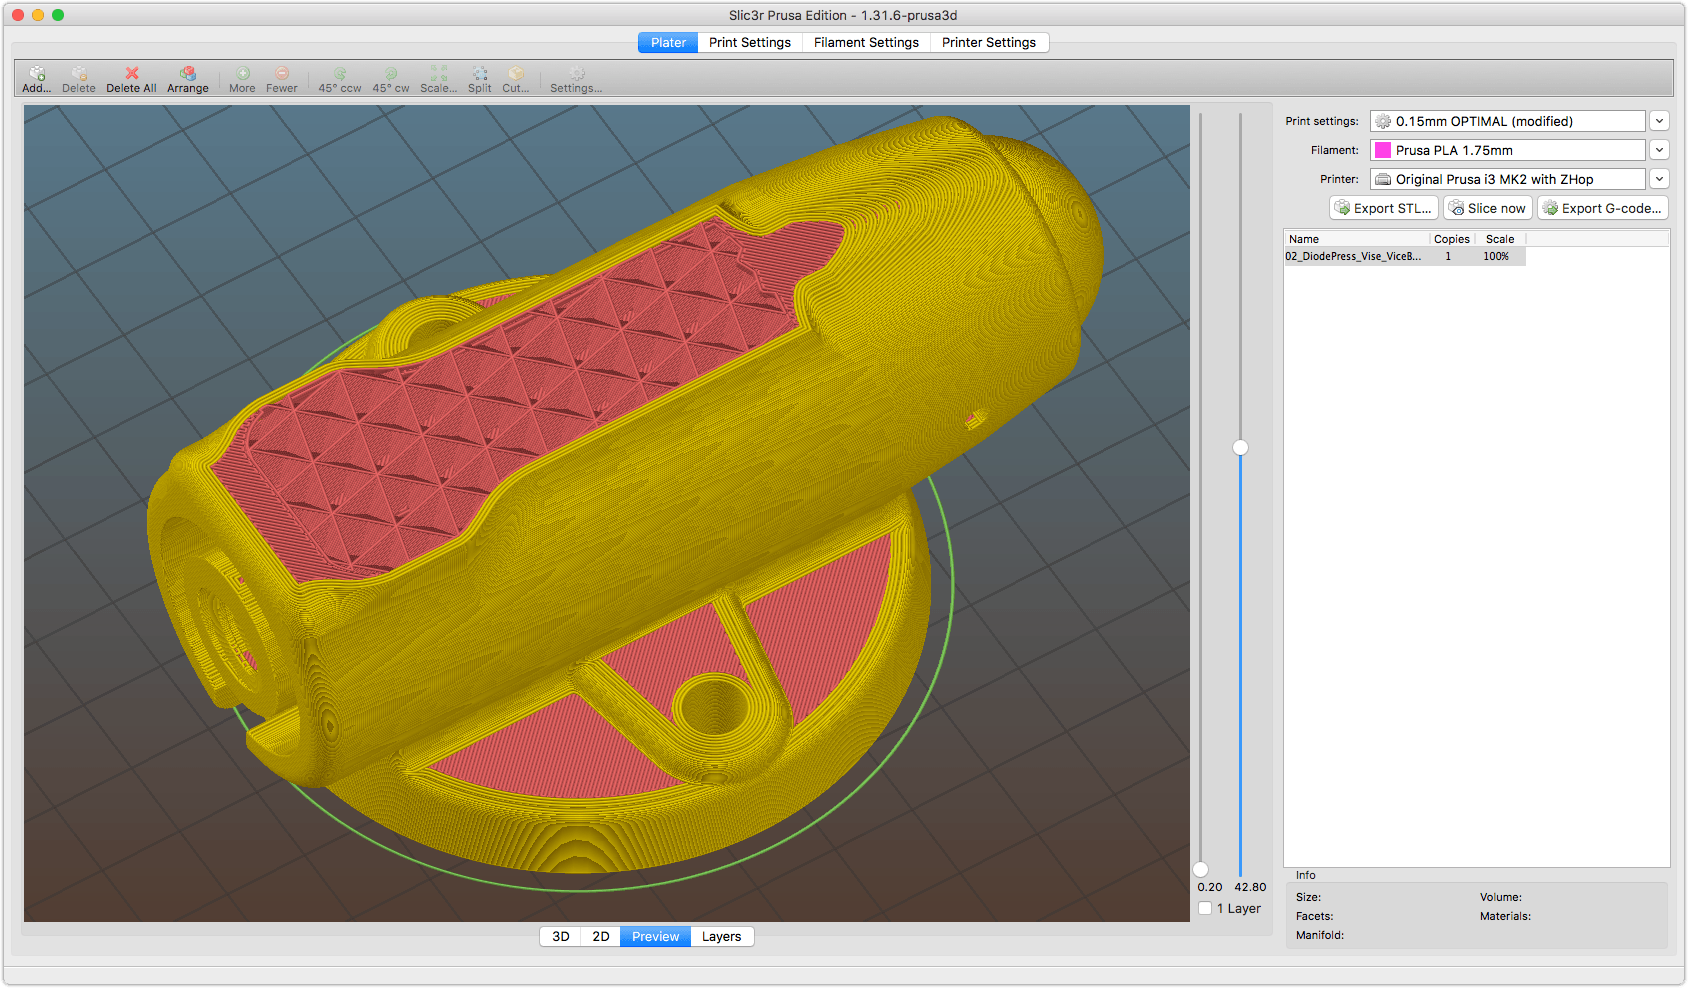
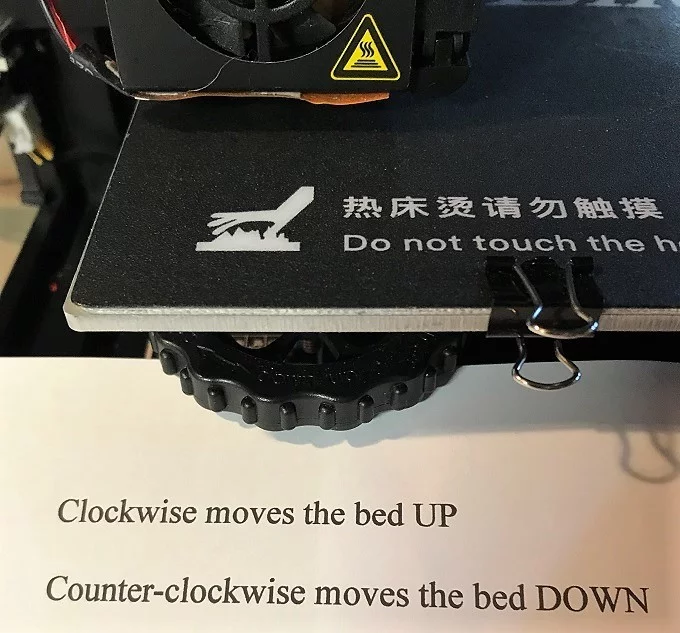
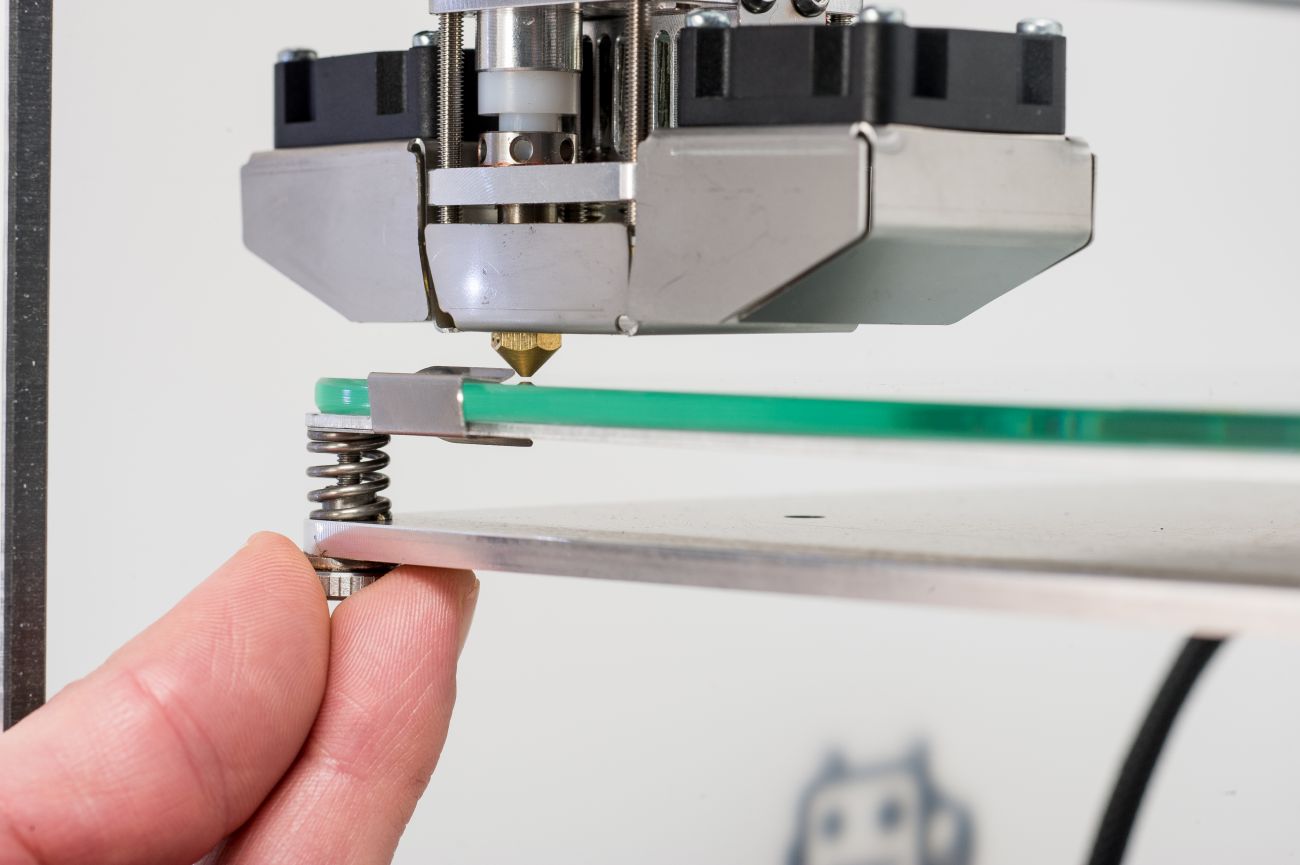
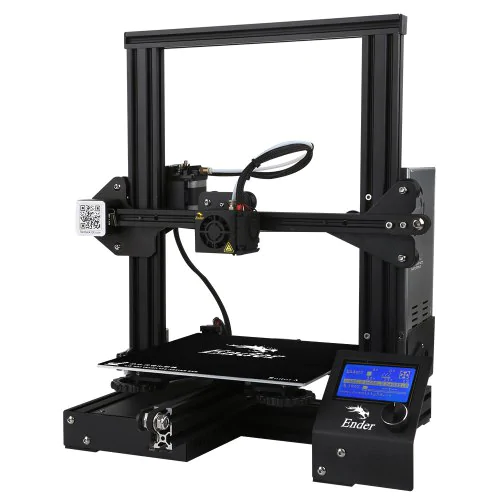
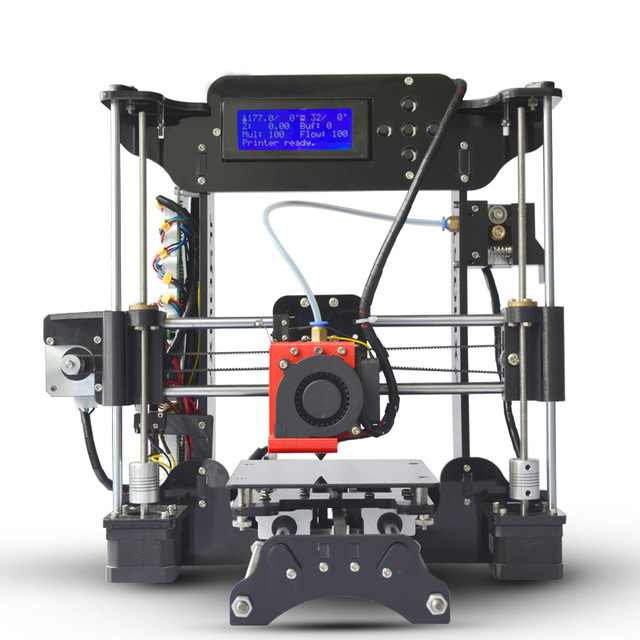
The most common form of 3d printing is FDM (Fused Deposition Modelling) printing, which is shown in the diagrams to the left. To put it simply FDM printing is when layers of molten plastic are printed on top of each other, each fusing to the layer beneath it.

The 3d Printing Process


thingiverse

The first step to make your 3d model into a reality is to actually have one. There are many ways to find 3d models online through websites such as thingiverse, my mini factory and various others. To get files off these websites you just need to download the 3d files that are usually .stl files. On the other hand, if you want to create your own 3d models you will need to use CAD (Computer Aided Design) software such as fusion 360 or tinkercad to model your own things. to get the 3d file from the CAD software you just need to export it as a .stl file and then you are ready for the next step in the 3d printing process.


F360


thing
CAD


slic3r

The next step in the 3d printing process is the slicer which is what will convert your 3d .stl file into layers and gcode that your 3d printer can understand. There are tons of slicing software to choose from with some of the most popular being slic3r, cura and simplify 3d (slic3r and cura are free to download while simplify 3d is not). Despite the number of slicing software programs, they all do pretty much the same thing: you put your stl files in; change various print settings and it outputs a gcode file which is ready for the next stage of the 3d printing process.

cura
slicer

cura


octoprint

Once you have you gcode there are two main was of sending it to your printer. These two ways are by doing it wirelessly using octoprint or using an sd card. To send your gcode files to your 3d printer using octoprint you need to have octoprint set up first which requires a rasberry pi to be connected to your printer (the octoprint website will have detailed instructions for this). Once octoprint is set up you should just be able to simply upload your gcode files. However if you dont have octoprint, sd cards are an alternative, you just need to transfer your gcode files to the sd card and insert into the reader on your 3d printer. Both of these methods will get your 3d model one step closer to becoming reality.


sd


octo
cards


heating done

The last step before you can print your 3d model is setting up the printer. This means getting the bed and hotend up to temperature and the bed levelled. Heating can be done wirelessly if octoprint is set up on your 3 printer but otherwise there are preheat selections on the main screen. If your bed has not been levelled then this can be done manually with a piece of paper. You home the printer, put the piece of paper in between the bed and the nozzle and then turn the adjuster knobs on each corner of the bed so that you feel a bit of resistnce moving the paper around. Once the hotend and the bed are up to temperature and the bed is levelled then you are finally ready to hit print! The next step is to wait... a long time.


bed
preheat

levelling

Anatomy of a 3d printer


  • 1

     X-axis (the left and right motions move along the x-axis)

  • a

     X-axis motor

  • 2

     Y-axis (the forwards and backwards motions move along the y-axis)

  • a

     Y-axis motor

  • 3

     Z-axis (the up and down motions move along the Z-axis)

  • a

     Z-axis motor (behind frame)

  • 4

     Print Bed

  • 5

     Controller, the brain of the 3d printer, where all of the electronics are located and everything is plugged into

  • 6

     Extruder

  • a

     Extruder motor

  • 7

     Bowden tube

  • 8

     Hotend

  • a

     Nozzle

  • b

     Heater block

  • c

     Heater cartridge

  • d

     Thermistor

  • e

     Heat break and Heat sink

  • f

     Cooling fan

  • g

     Part cooling fan

  • 9

     End stops/Limit switches

anatomy

If you are unsure about what any of these components are then be sure to look in the Glossary